API Gateway QuickStart Guide
Find out how to get started quickly with API Gateway.
A. Set up your tenancy
If suitable users and groups to create and access API Gateway and network resources don't exist already:
- Sign in to the Console as a tenancy administrator.
- Open the navigation menu and select Identity & Security. Under Identity, select Domains.
-
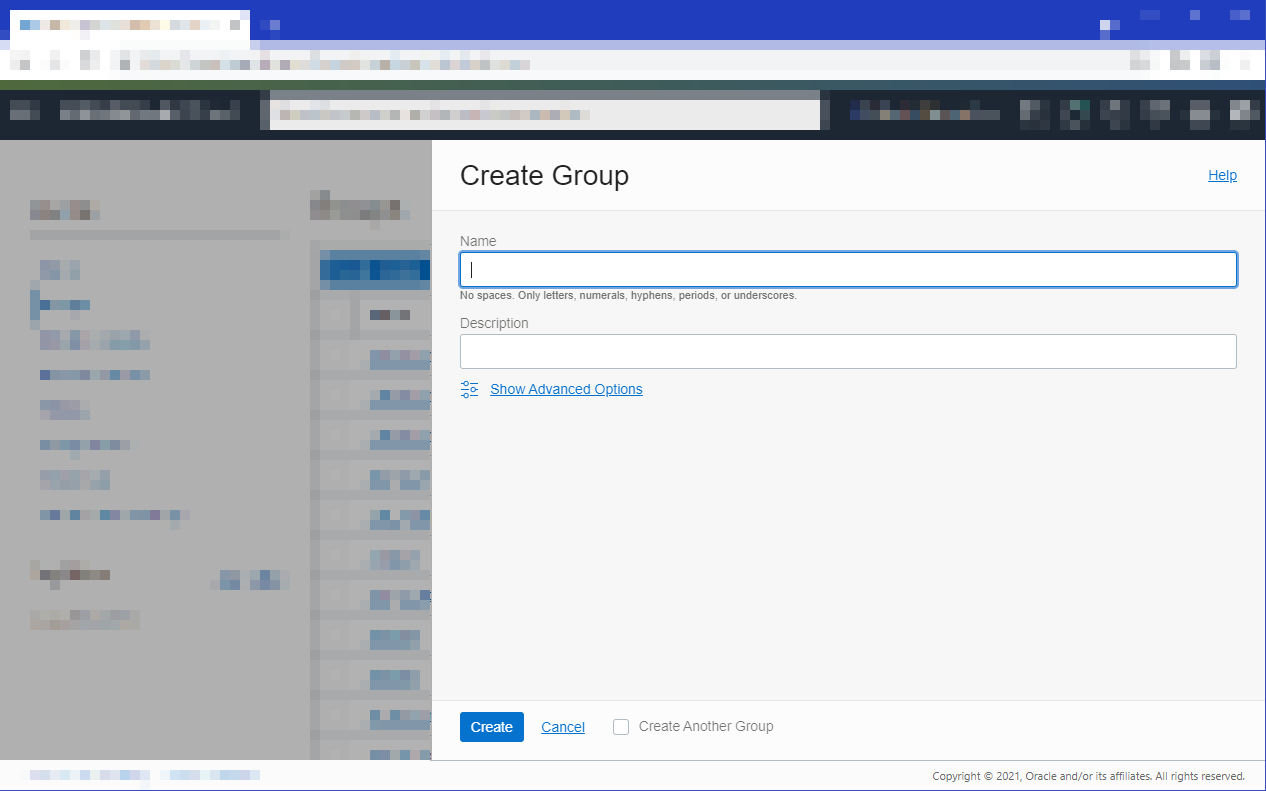
Create a new group by selecting Groups and then Create Group.
-
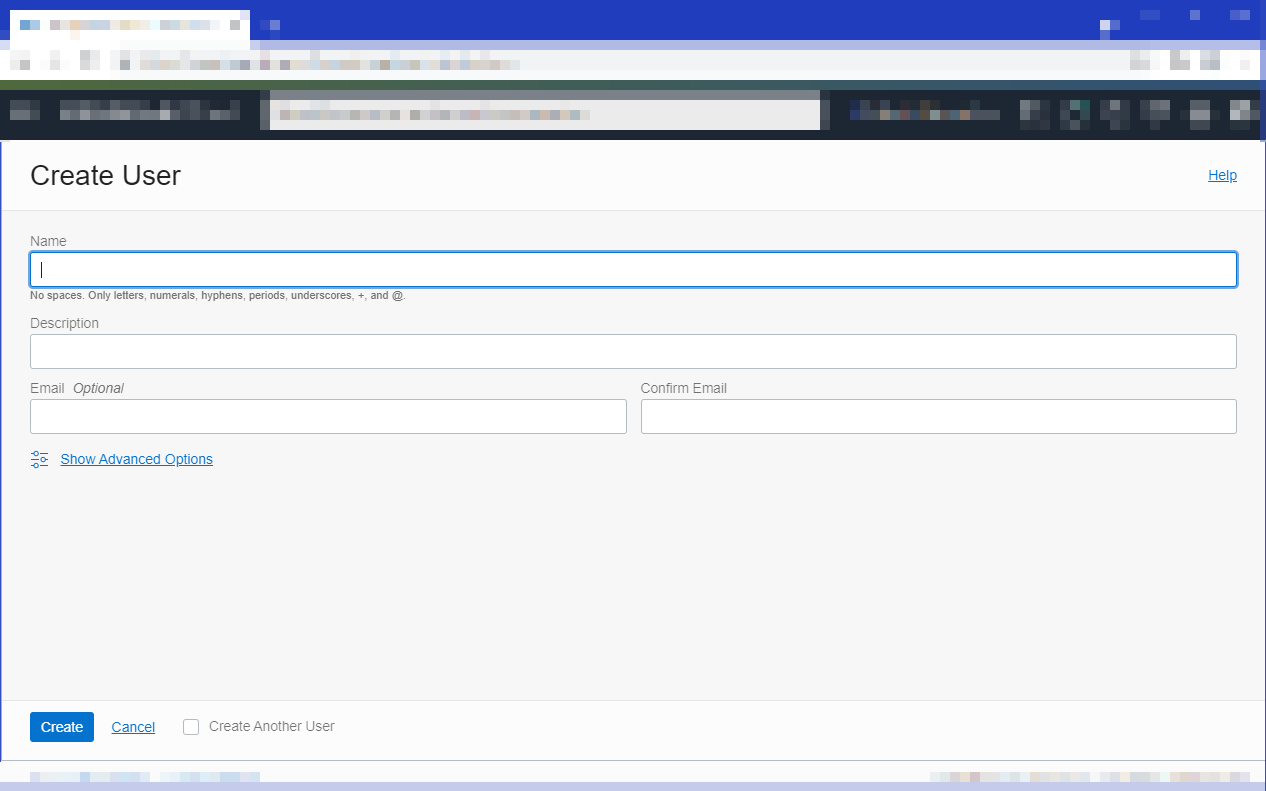
Create a new user by selecting Users and then Create User.
-
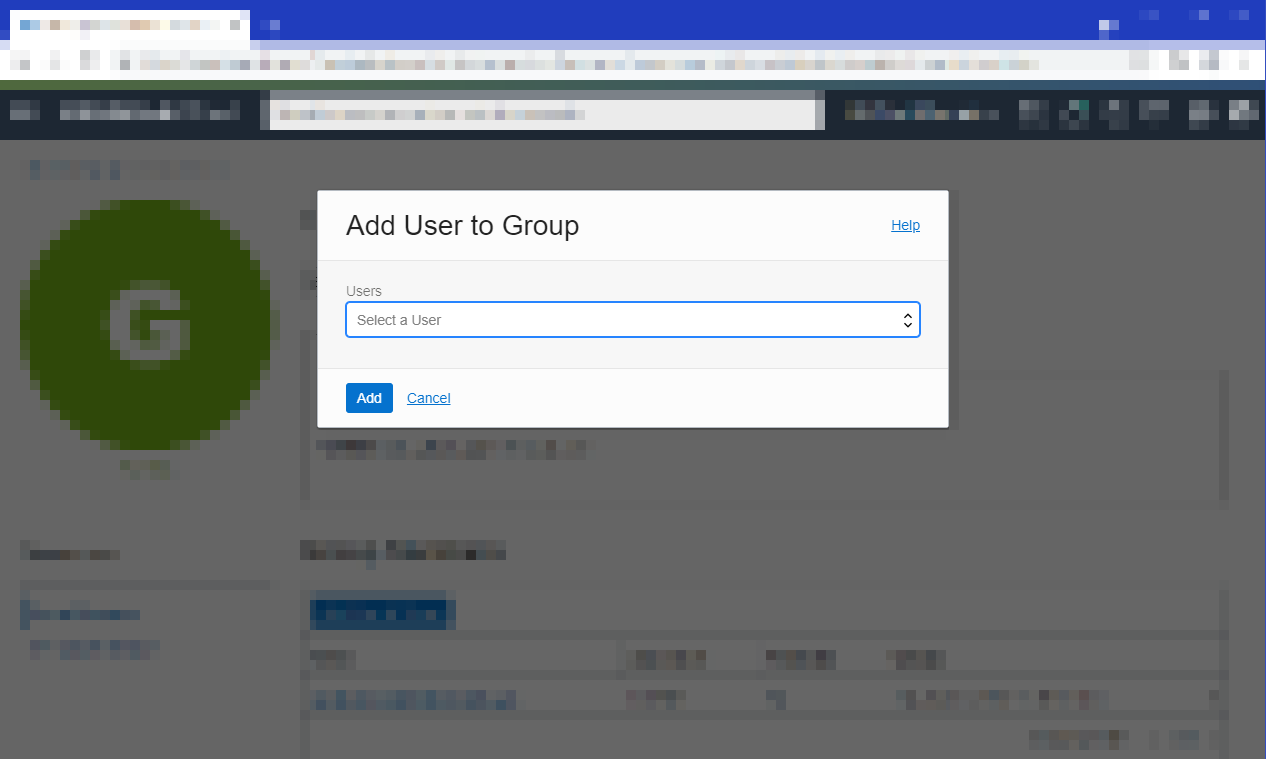
Add a user to a group by selecting Groups, then the name of the group, and then Add User to Group.
See detailed instructions for more information.
If a suitable compartment in which to create API Gateway resources and network resources doesn't exist already:
- Sign in to the Console as a tenancy administrator.
-
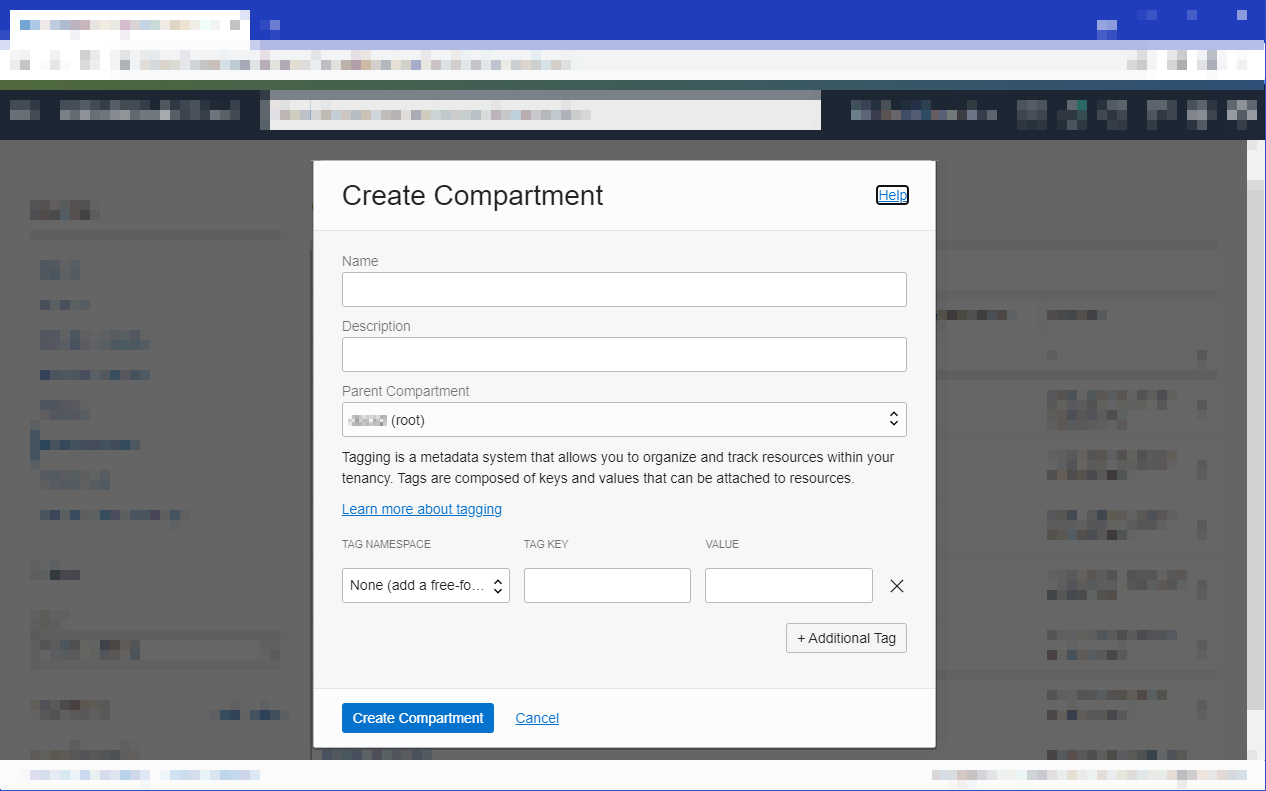
Select Create Compartment.
See detailed instructions for more information.
To ensure high availability, you can only create API gateways in regional subnets (not AD-specific subnets). If a suitable VCN with a public regional subnet in which to create network resources doesn't exist already:
- Sign in to the Console as a tenancy administrator.
- Open the navigation menu , select Networking, and then select Virtual cloud networks.
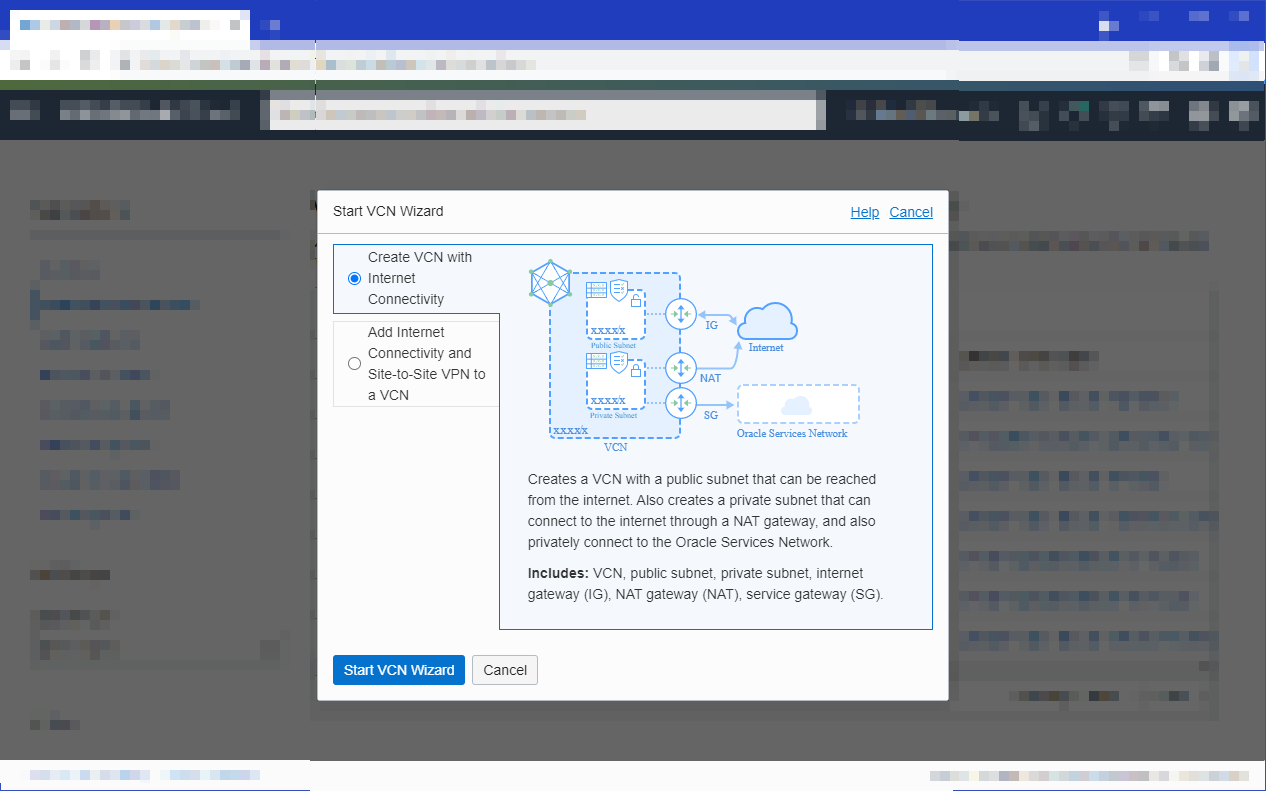
- Select Start VCN Wizard to create a new VCN.
-
In the Start VCN Wizard dialog box, select Create VCN with Internet Connectivity and select Start VCN Wizard.
As well as the VCN, the workflow creates a public regional subnet and a private regional subnet, along with an internet gateway, a NAT gateway, and a service gateway.
-
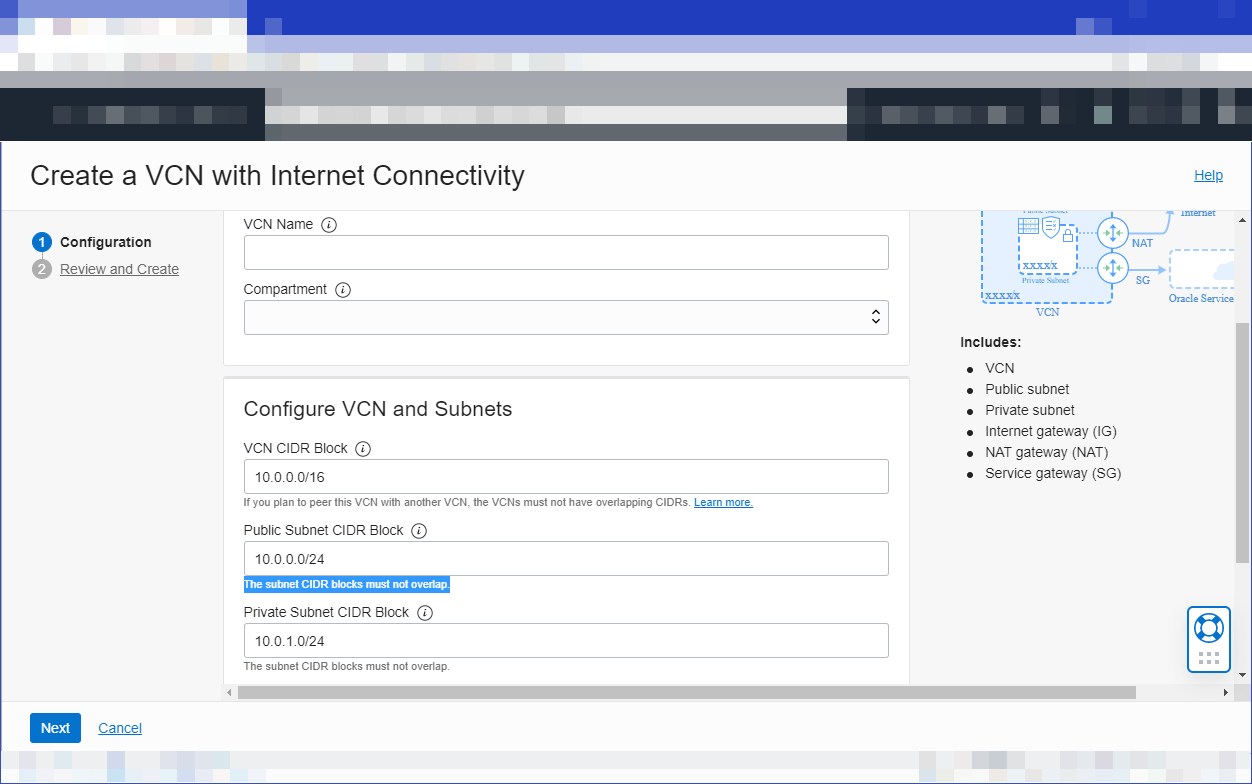
Enter a name for the new VCN, and specify CIDR blocks for the VCN, the public regional subnet (must provide a minimum of 32 free IP addresses), and the private regional subnet.
-
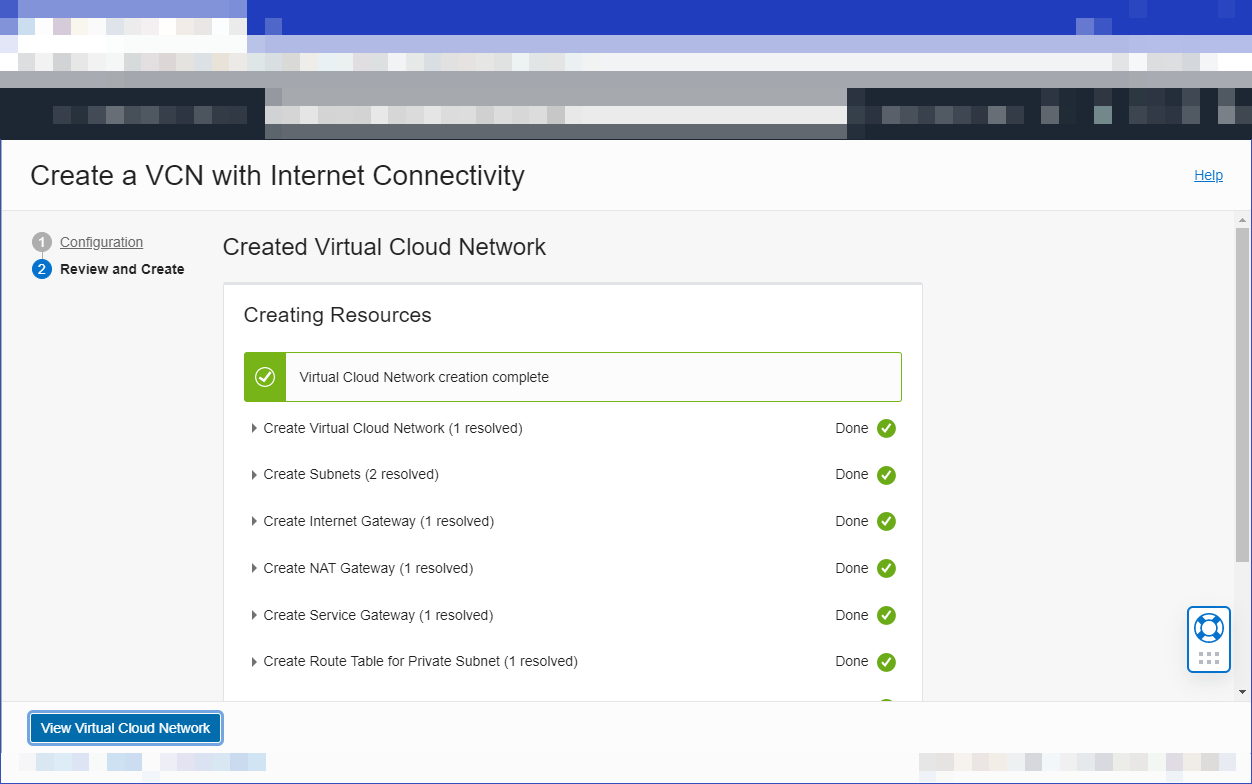
Select Next to review the details you entered for the new VCN, and select Create to create it. When the VCN has been created, select View Virtual Cloud Network to see the new VCN and the subnets that have been created.
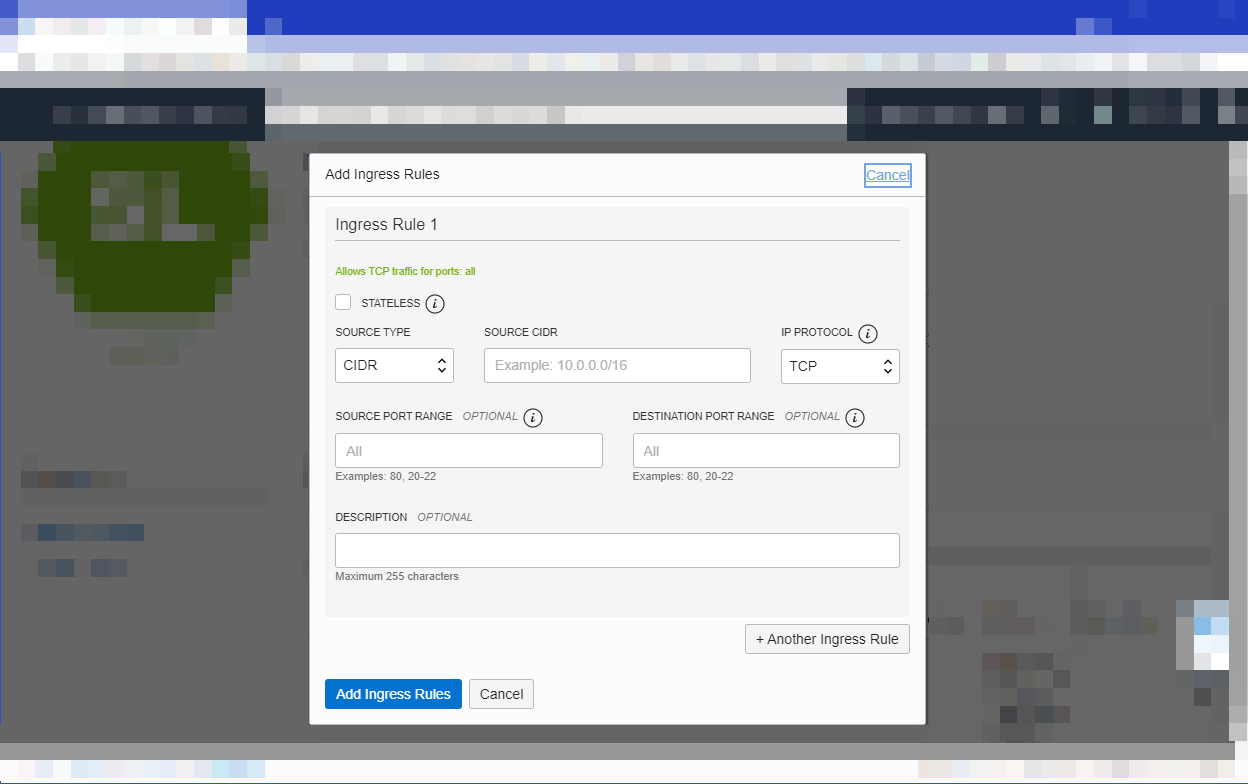
The API Gateway communicates on port 443, which is not open by default. You have to add a new stateful ingress rule for the public regional subnet to allow traffic on port 443.
- Select the name of the public regional subnet, then the name of the default security list, and then select Add Ingress Rules. Specify:
- Source Type: CIDR
- Source CIDR: 0.0.0.0/0
- IP Protocol: TCP
- Source Port Range: All
- Destination Port Range: 443
- Select Add Ingress Rules to add the new rule to the default security list.
See detailed instructions for more information.
If one or more API developers is not a tenancy administrator:
- Sign in to the Console as a tenancy administrator.
-
Create policies to give API developers access:
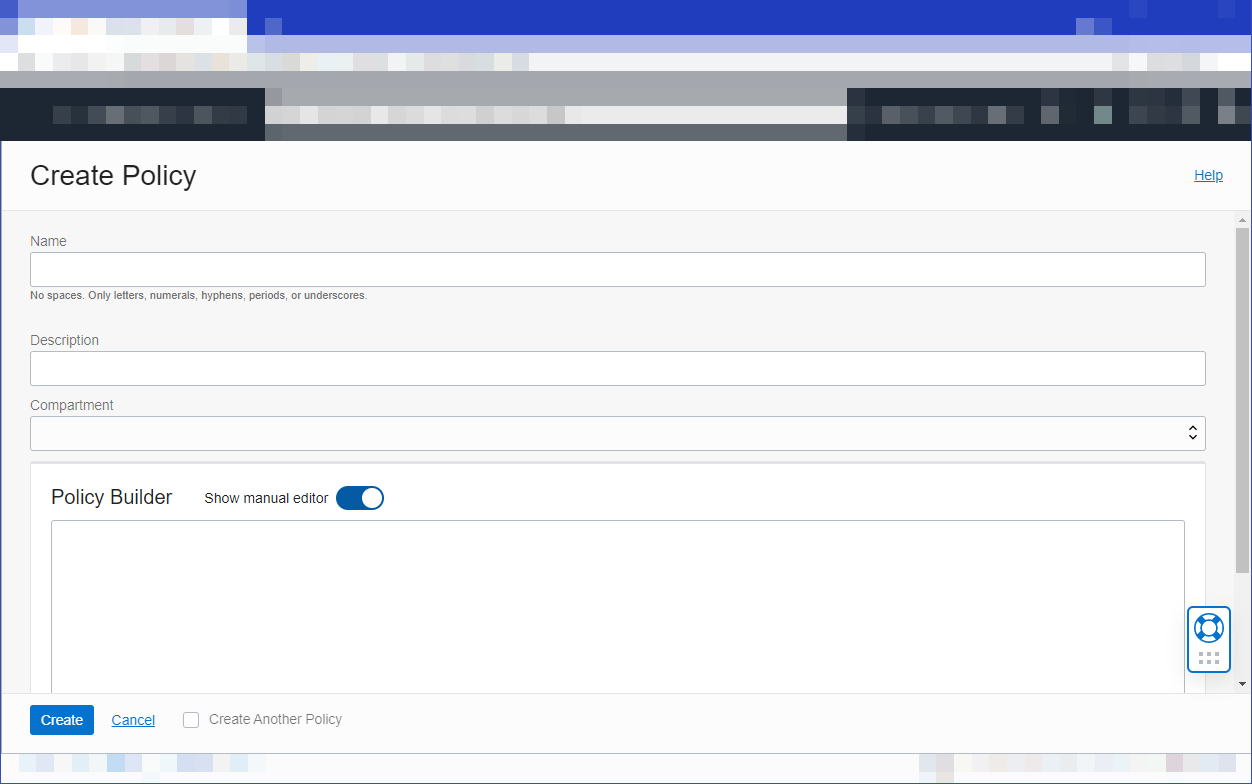
- Create a policy with one policy statement to enable API developers to access API Gateway-related resources. Select Create Policy, specify a name and description for the new policy, and select the compartment that will own API Gateway-related resources. Use the Policy Builder Manual Editor to enter the following policy statement, and then select Create:
Allow group <group-name> to manage api-gateway-family in compartment <compartment-name> - Create a policy with one policy statement to enable API developers to access network resources. Select Create Policy, specify a name and description for the new policy, and select the compartment that owns the network resources to use with API Gateway. Use the Policy Builder Manual Editor to enter the following policy statement, and then select Create:
Allow group <group-name> to manage virtual-network-family in compartment <compartment-name>
Note: The above policies are sufficient to enable you to create an API deployment with an HTTP back end, as suggested in this QuickStart Guide. You can enter additional policies (as described in the documentation) to enable API developers to create API deployments with OCI Functions functions as back ends, and to enable API gateways to authenticate with a cache server to retrieve cached response data.
- Create a policy with one policy statement to enable API developers to access API Gateway-related resources. Select Create Policy, specify a name and description for the new policy, and select the compartment that will own API Gateway-related resources. Use the Policy Builder Manual Editor to enter the following policy statement, and then select Create:
See detailed instructions for more information.
B. Create, deploy, and call your API
- Sign in to the Console as an API Gateway developer, open the navigation menu and select Developer Services. Under API Management, select Gateways.
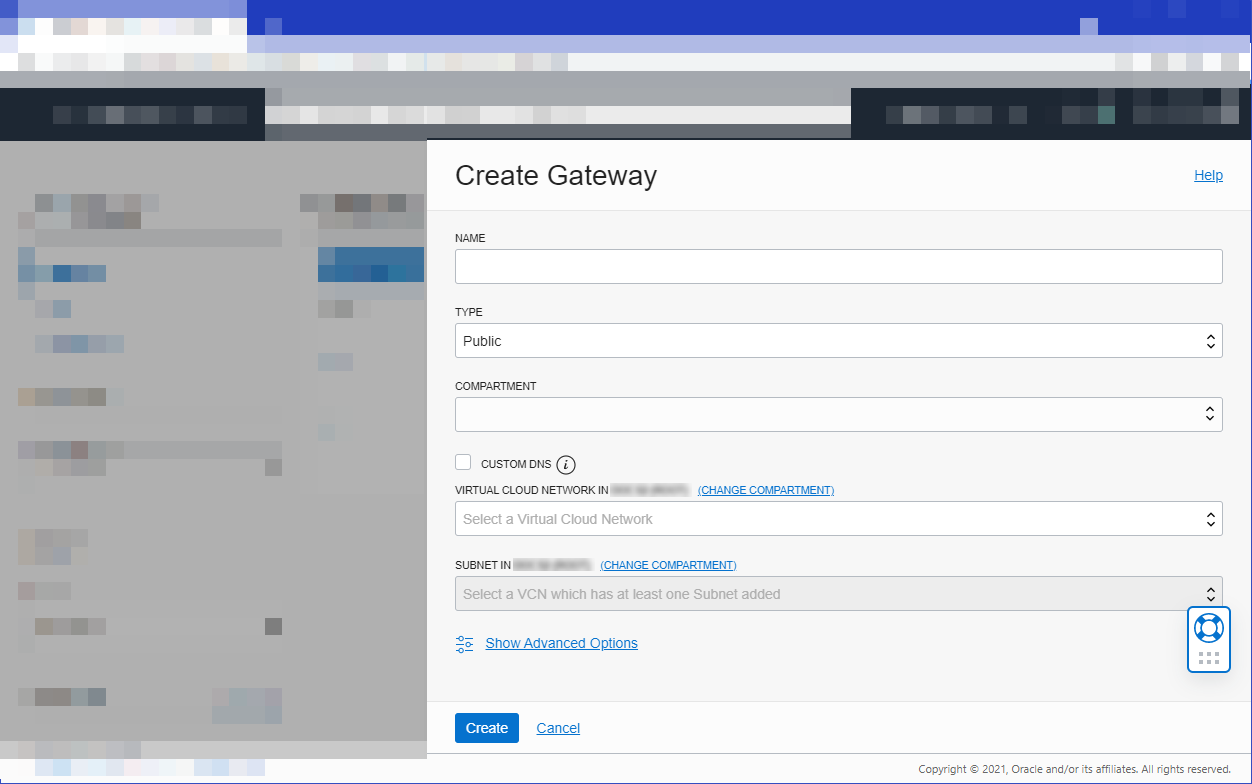
- Select Create Gateway and specify:
- a name for the new gateway, such as
acme-api-gateway - the type of the new gateway as Public
- the name of the compartment in which to create API Gateway resources
- the name of the VCN to use with API Gateway
- the name of the public regional subnet in the VCN
- a name for the new gateway, such as
- Select Create.
When the new API gateway has been created, it is shown as Active in the list on the Gateways page.
See detailed instructions for more information.
- On the Gateways page in the Console, select the name of the API gateway you created earlier.
- Under Resources, select Deployments, and then select Create Deployment.
-
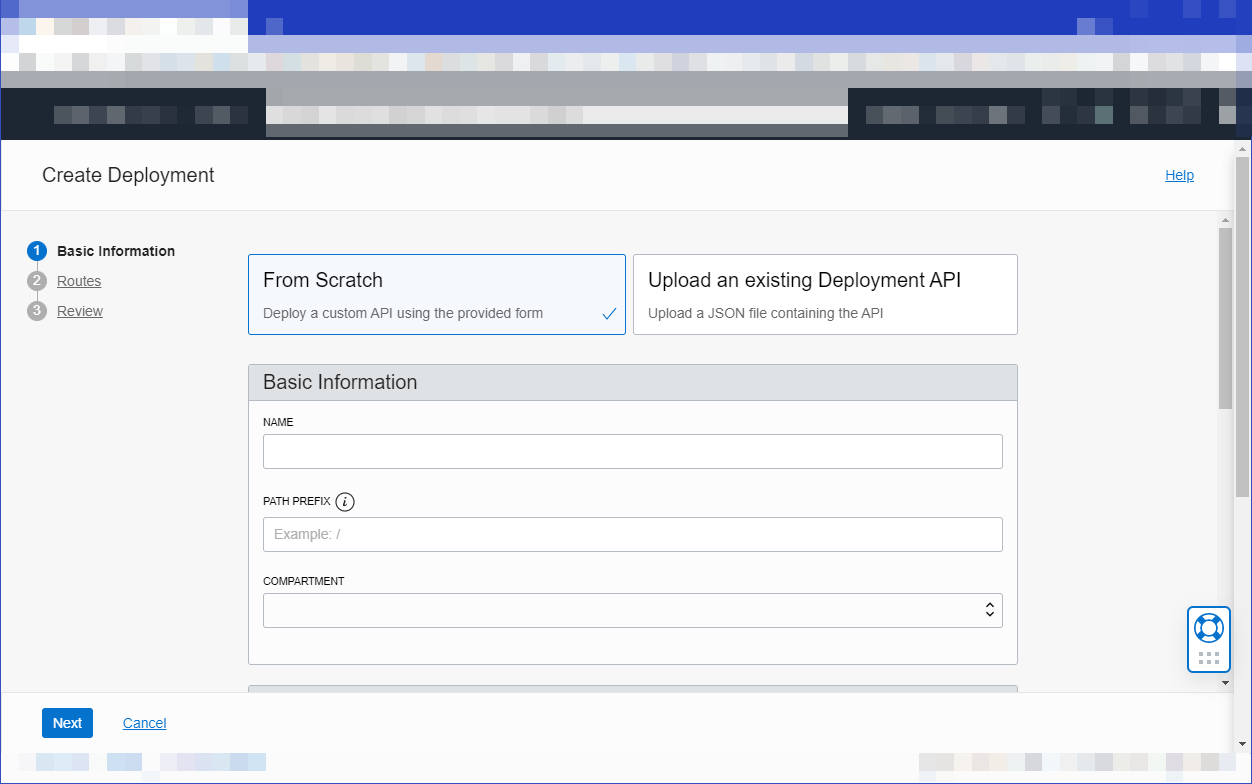
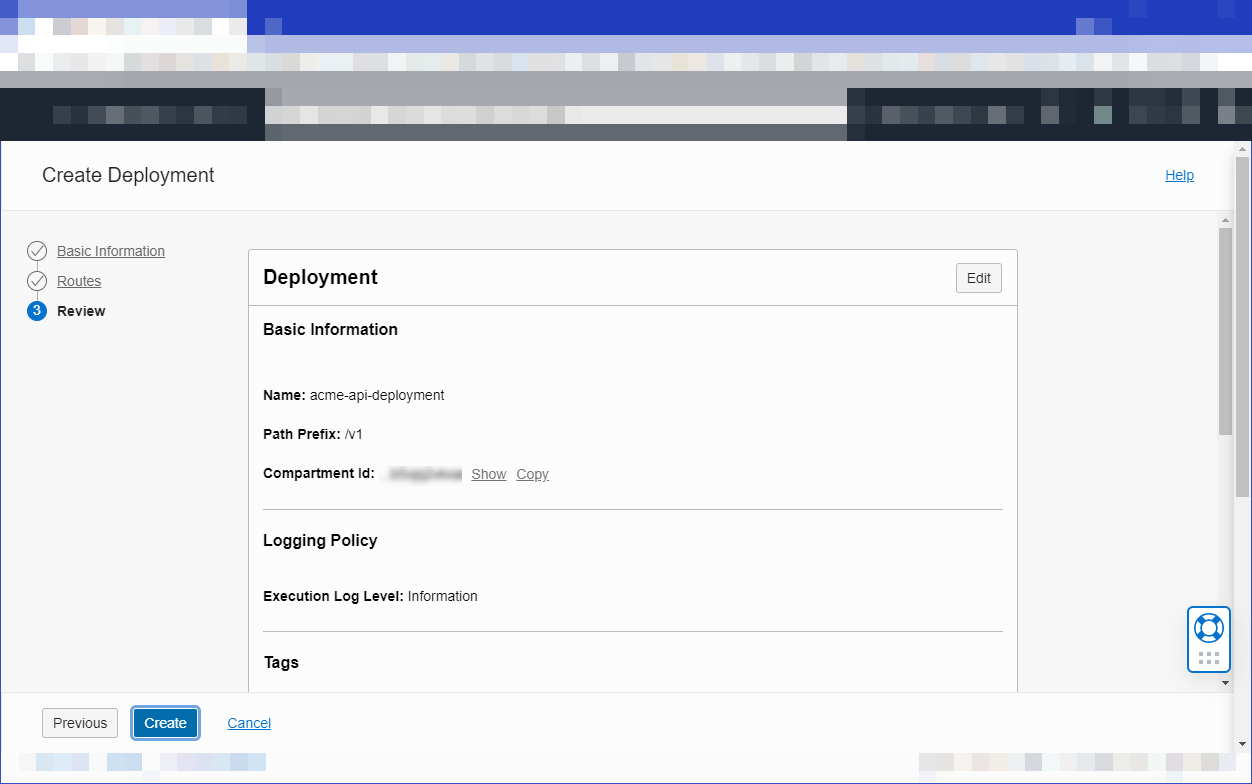
Select From Scratch and in the Basic Information section, specify:
- a name for the new API deployment, such as
acme-api-deployment - a path prefix to add to the path of every route contained in the API deployment, such as
/v1 - the compartment in which to create the new API deployment
- a name for the new API deployment, such as
-
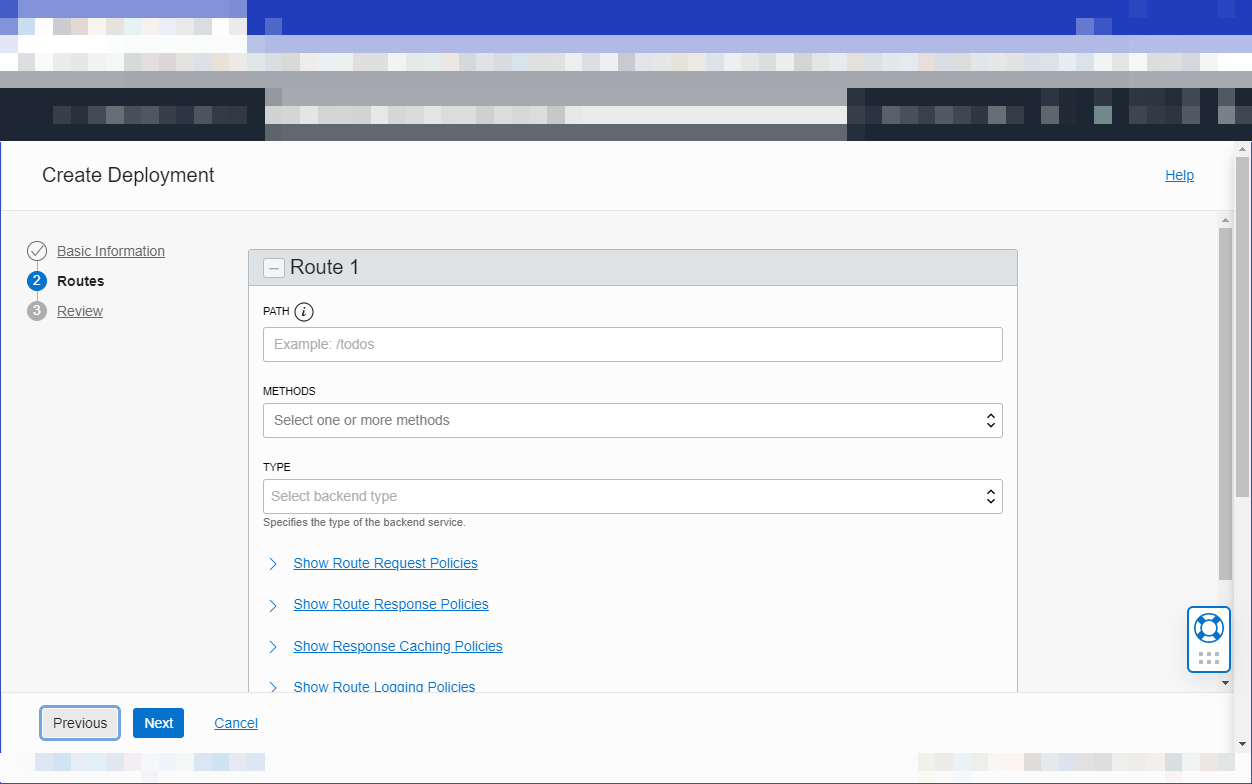
Select Next and in the Route 1 section, specify:
- a path, such as
/hello - a method accepted by the back-end service, such as
GET - the type of the back-end service, and associated details. For convenience, specify the type as
HTTPand enter a public API as the back end's url (such ashttps://api.weather.gov).
- a path, such as
-
Select Next to review the details you entered for the new API deployment, and select Create to create it.
When the new API deployment has been created, it is shown as Active in the list of API deployments.
- When the API deployment is active, go on to the next task.
See detailed instructions for more information.
-
In the list of API deployments, select Copy beside the endpoint of the new API deployment you just created to copy the endpoint.
-
Open a terminal window and call the API by entering:
curl -k -X GET <deployment-endpoint>where
<deployment-endpoint>is the endpoint that you copied in the previous step. For example,https://lak...sjd.apigateway.us-phoenix-1.oci.customer-oci.com/v1/hello
Congratulations! You've just created your first API gateway and API deployment, and called your first API using the API Gateway service!
See detailed instructions for more information.
Now that you've created, deployed, and called an API function, learn how to:
- managing API gateways and API deployments (see Listing API Gateways, Updating an API Gateway, Deleting an API Gateway)
- limiting the number of requests (see Limiting the Number of Requests to API Gateway Back Ends)
- adding CORS support (see Adding CORS support to API Deployments)
- adding stock responses (see Adding Stock Responses as an API Gateway Back End)
- confirming API caller identity and permissions (see Adding Authentication and Authorization to API Deployments)
You're done!
